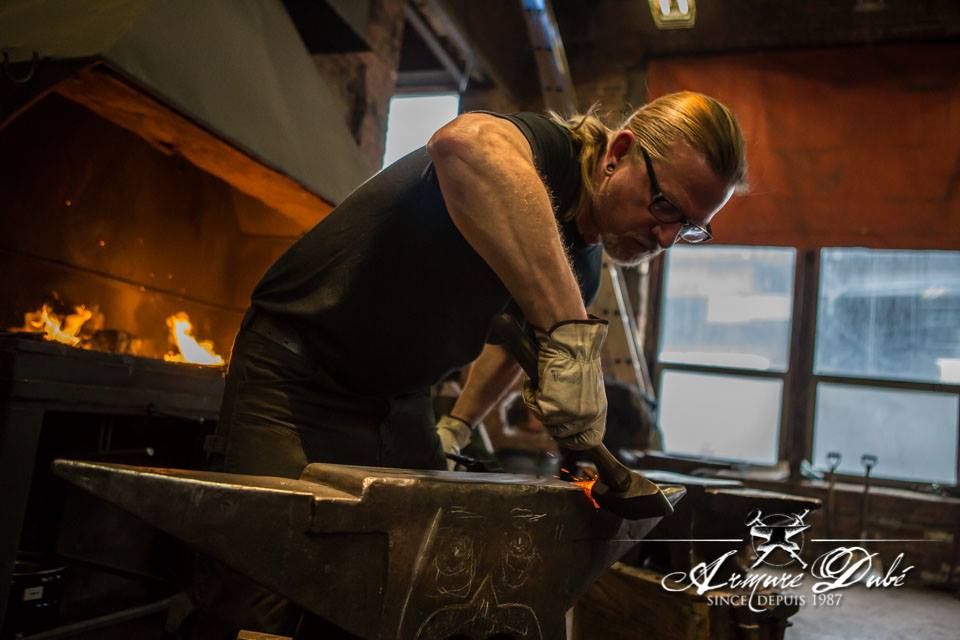
Not only is armour not something you can just run down to the local store and buy off the rack, even the tools to create armour are not kept in stock at your local hardware store. In this series of photos, Eric Dube' of Armure Dube' is creating a pair of specialized hammers to use in his armour making business.

Start with a blank piece of steel(photo by Armure Dube')

Use a century old power hammer to begin shaping your new hammer(photo by Armure Dube')

Mark where you want the handle of your hammer to go(photo by Armure Dube')

Pound a hole through the steel(photo by Armure Dube')

The hole where the handle of the hammer will go(photo by Armure Dube')

Chop off the bits you no longer need(photo by Armure Dube')

See how far we've gotten(photo by Armure Dube')

Heat things up again(photo by Armure Dube')

Shape the tip of the hammer(photo by Armure Dube')

The hammer heads(photo by Armure Dube')

Attach the handles(photo by Armure Dube')

Polish the hammer heads to a mirror shine(photo by Armure Dube')

The hammers are ready to use(photo by Armure Dube')
When asked about creating his own hammers, Eric stated:
The hammers created in this series of photographs are planashing hammers. What are planashing hammers used for? When you have finished the rough form of a piece of armour, you planash it to iron out all the dents before sanding and polishing.
To see more pictures of Eric's work, check out his Facebook page, Armure Dube'. You can also see Eric's wonderful videos of the armour making process on his YouTube channel.
And don't forget to check out The Jousting Life's Facebook page where other pictures, videos and links to articles about jousting are posted.

Start with a blank piece of steel(photo by Armure Dube')

Use a century old power hammer to begin shaping your new hammer(photo by Armure Dube')

Mark where you want the handle of your hammer to go(photo by Armure Dube')

Pound a hole through the steel(photo by Armure Dube')

The hole where the handle of the hammer will go(photo by Armure Dube')

Chop off the bits you no longer need(photo by Armure Dube')

See how far we've gotten(photo by Armure Dube')

Heat things up again(photo by Armure Dube')

Shape the tip of the hammer(photo by Armure Dube')

The hammer heads(photo by Armure Dube')

Attach the handles(photo by Armure Dube')

Polish the hammer heads to a mirror shine(photo by Armure Dube')

The hammers are ready to use(photo by Armure Dube')
When asked about creating his own hammers, Eric stated:
"I decided to forge myself a series of specialized hammers: raising, planashing, and all purpose hammers, and will be needing extra hammers because I will start giving classes this spring on armoring at the Montreal Forges." -- Eric Dube'
The hammers created in this series of photographs are planashing hammers. What are planashing hammers used for? When you have finished the rough form of a piece of armour, you planash it to iron out all the dents before sanding and polishing.
To see more pictures of Eric's work, check out his Facebook page, Armure Dube'. You can also see Eric's wonderful videos of the armour making process on his YouTube channel.
And don't forget to check out The Jousting Life's Facebook page where other pictures, videos and links to articles about jousting are posted.

No comments:
Post a Comment